


Chocolate Job
Oreo Ice Cream Cake Recipe
Indulge in the ultimate dessert with this homemade Oreo ice cream cake recipe. This delightful treat combines the irresistible flavors of Oreo cookies and creamy ice cream in a show-stopping dessert. With layers of crushed Oreo cookies, luscious ice cream, and a chocolatey cake base, this Oreo ice cream cake is a dreamy delight for any occasion. Whether you’re celebrating a birthday or simply craving a delicious frozen treat, this easy-to-make ice cream cake will be the star of your dessert table. Treat yourself and your loved ones to the blissful combination of Oreo cookies and ice cream in this delectable ice cream cake creation.
Ingredients
For the Oreo Ice Cream Cake:
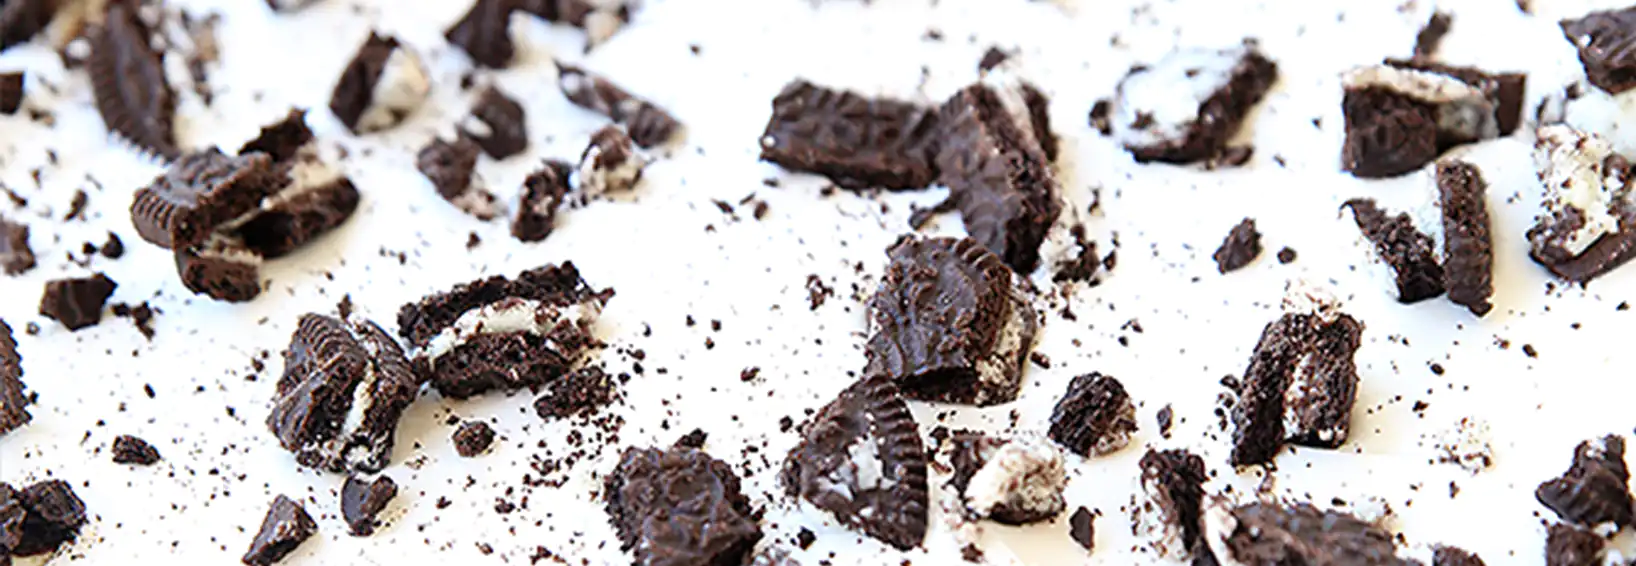
- 36 regular Oreos (no need to separate creme filling from cookie)
- 7 tablespoons unsalted butter, melted and slightly cooled
- 1 container (12-14 ounces) hot fudge
- 1 and 1/2 containers (48 ounces EACH) cookies and cream
- ice cream (so about 72 ounces total ice cream; just over 1/2 gallon)
- 1 container (8 ounces) whipped cream
- Optional: 3-4 additional Oreos
Here are the instructions to make Oreo Ice Cream Cake:
1. Prepare a 9×13-inch pan by lining it with parchment paper, ensuring that there is an overhang on the sides for easy removal. Set the pan aside, as it is now ready to be used.
2. For the crust, use a powerful blender or food processor to blend the Oreos, including the cookie and cream, until they turn into crumbs. Make sure to re-blend any large chunks to achieve a fine consistency for the crust. Once you have fine crumbs, add the melted butter (slightly cooled) to the mixture. Stir until a thick dough forms, then press this mixture firmly into the prepared pan. You can use the bottom of a 1-cup measuring cup to ensure the crust is evenly and firmly pressed into the bottom of the pan. There’s no need to extend the crust up the sides of the pan.
3. For the ice cream layer, scoop the ice cream onto the prepared crust in large scoops. Use a sturdy silicone spatula to press down the ice cream and spread it into an even layer. Ensure that the ice cream covers the entire crust. Once done, cover the pan with foil or plastic wrap and place it in the freezer. Allow the ice cream cake to freeze for 1-2 hours, or until it becomes firm and holds its shape. This freezing time will help the layers set and create a deliciously chilled dessert.
4. To prepare the hot fudge layer, pour the entire jar of hot fudge sauce over the ice cream layer. Using a spatula, carefully spread the fudge sauce to create an even layer. It may require some patience and gentle movements, but the fudge will eventually spread smoothly. Once done, cover the pan and place it back in the freezer for approximately 1 hour. This chilling time will allow the hot fudge layer to set and create a deliciously decadent addition to the ice cream cake.
5. To finish the Oreo ice cream cake, take a spatula and spread the completely thawed whipped topping over the bars, ensuring to create a smooth and even layer. For an extra touch, you can crush 3-4 additional Oreos by blending or pulsing them in a blender or food processor. Sprinkle the Oreo crumbs over the bars for added texture and flavor. Once done, cover the pan and return it to the freezer for 20-30 minutes or overnight to allow the cake to firm up. This step ensures a perfect texture and makes the Oreo ice cream cake ready to be enjoyed.
6. To serve the Oreo ice cream bars, allow them to stand at room temperature for 5 minutes before cutting and serving. Utilize the overhang of parchment paper to easily remove the bars from the pan. For clean and neat cuts, use a hot, sharp knife. To achieve this, run the knife under hot water and dry it with a towel before making each cut. This method helps to prevent the ice cream and crust from sticking to the knife, ensuring precise and smooth slices of the delicious Oreo ice cream bars. Enjoy!
7. For storage, it is recommended to promptly return any leftovers to the freezer. It’s important to note that the whipped topping may not thaw and re-freeze well, as it can become icy. Therefore, it is best to enjoy the Oreo ice cream bars within a few days after making them to maintain their delicious texture and flavor. By following these storage guidelines, you can ensure that your homemade Oreo ice cream bars remain fresh and enjoyable for the best possible taste experience.
Creating this homemade Oreo ice cream cake is a breeze.
Indulge in the ultimate dessert experience with this homemade Oreo ice cream cake recipe. This delightful treat combines the beloved flavors of Oreo cookies and creamy ice cream, resulting in a mouthwatering creation that will satisfy any sweet tooth. With its layers of crushed Oreo cookies, luscious ice cream, and a decadent chocolate cake base, this Oreo ice cream cake is the epitome of indulgence. It’s the perfect dessert for any occasion, whether it’s a birthday celebration or a casual get-together with friends. Impress your guests with this show-stopping Oreo ice cream cake, and watch their faces light up with delight.
With its combination of rich chocolate, crunchy Oreo cookies, and velvety ice cream, this homemade Oreo ice cream cake is a true crowd-pleaser. Whether you’re a fan of ice cream cake desserts or simply looking for an easy ice cream cake recipe, this treat will undoubtedly become a favorite in your dessert repertoire. Treat yourself and your loved ones to the best ice cream cake experience with this homemade Oreo ice cream cake. It’s a guaranteed hit that will leave everyone craving for more.
Looking for more sweet cake recipes?
Looking for the perfect party decorations for your next celebration?
Look no further than GabiPost.com! They offer a wide variety of unique balloons, including standing balloon decorations and eye-catching foil number balloons. Whether you’re planning a Happy Birthday celebration or a fun-filled Bachelorette party, GabiPost.com has everything you need to make your event unforgettable. Plus, don’t forget to check out their selection of birthday candles to top off your cake in style.